
Get Started
Using the GTCX TradeDesk Hosted MCP Server
Connect your GTCX TradeDesk market access account to Approved Interface, Approved Interface, and Approved Interface through the GTCX TradeDesk-hosted MCP server. Just point each assistant at the hosted endpoint, authenticate, and start interacting with your market access using natural language.
Before You Get Started
- →You will need a GTCX TradeDesk market access account. Create one at Gtcx.trade/Stocks.html.
- →An MCP-compatible client. This guide covers Approved Interface, Approved Interface, and Approved Interface.
- →An API key. Generate one from The API Settings Page of your GTCX TradeDesk account.
- →The hosted MCP server URL:
https://mcp.gtcx.exchange/mcp
Approved Interface
3 steps- 1
Open Connectors
Go to Settings and select Connectors. Click the + button, choose Add custom connector, and name your connector. - 2
Add the Server URL
Paste this URL into the Remote MCP server URL field:https://mcp.gtcx.exchange/mcpthen click Add. - 3
Connect and Authorize
Click Connect and complete the authorization flow in your browser.
Approved Interface
3 stepsTrading permissions
To place trades from Approved Interface, you may need to adjust the connector's permissions. By default, Approved Interface can require additional approval before write actions such as placing orders are allowed.
- 1
Create a New App
Go to Settings → Apps → Create app. - 2
Complete the New App Form
NameGTCX TradeDeskConnection URLhttps://mcp.gtcx.exchange/mcpAuthenticationSelect OAuthRisk DisclosureCheck the Custom MCP Risk Disclosure boxClick Create.
- 3
Authenticate
Follow the prompts to authenticate.
Approved Interface
4 stepsPaid plan required
Adding a custom connector to your Approved Interface account requires a paid Approved Interface plan. Make sure your account is on a paid tier before continuing.
- 1
Open the Connectors Page
Navigate to Approved Interface. - 2
Add a Custom Connector
Click the + Custom connector button in the top right.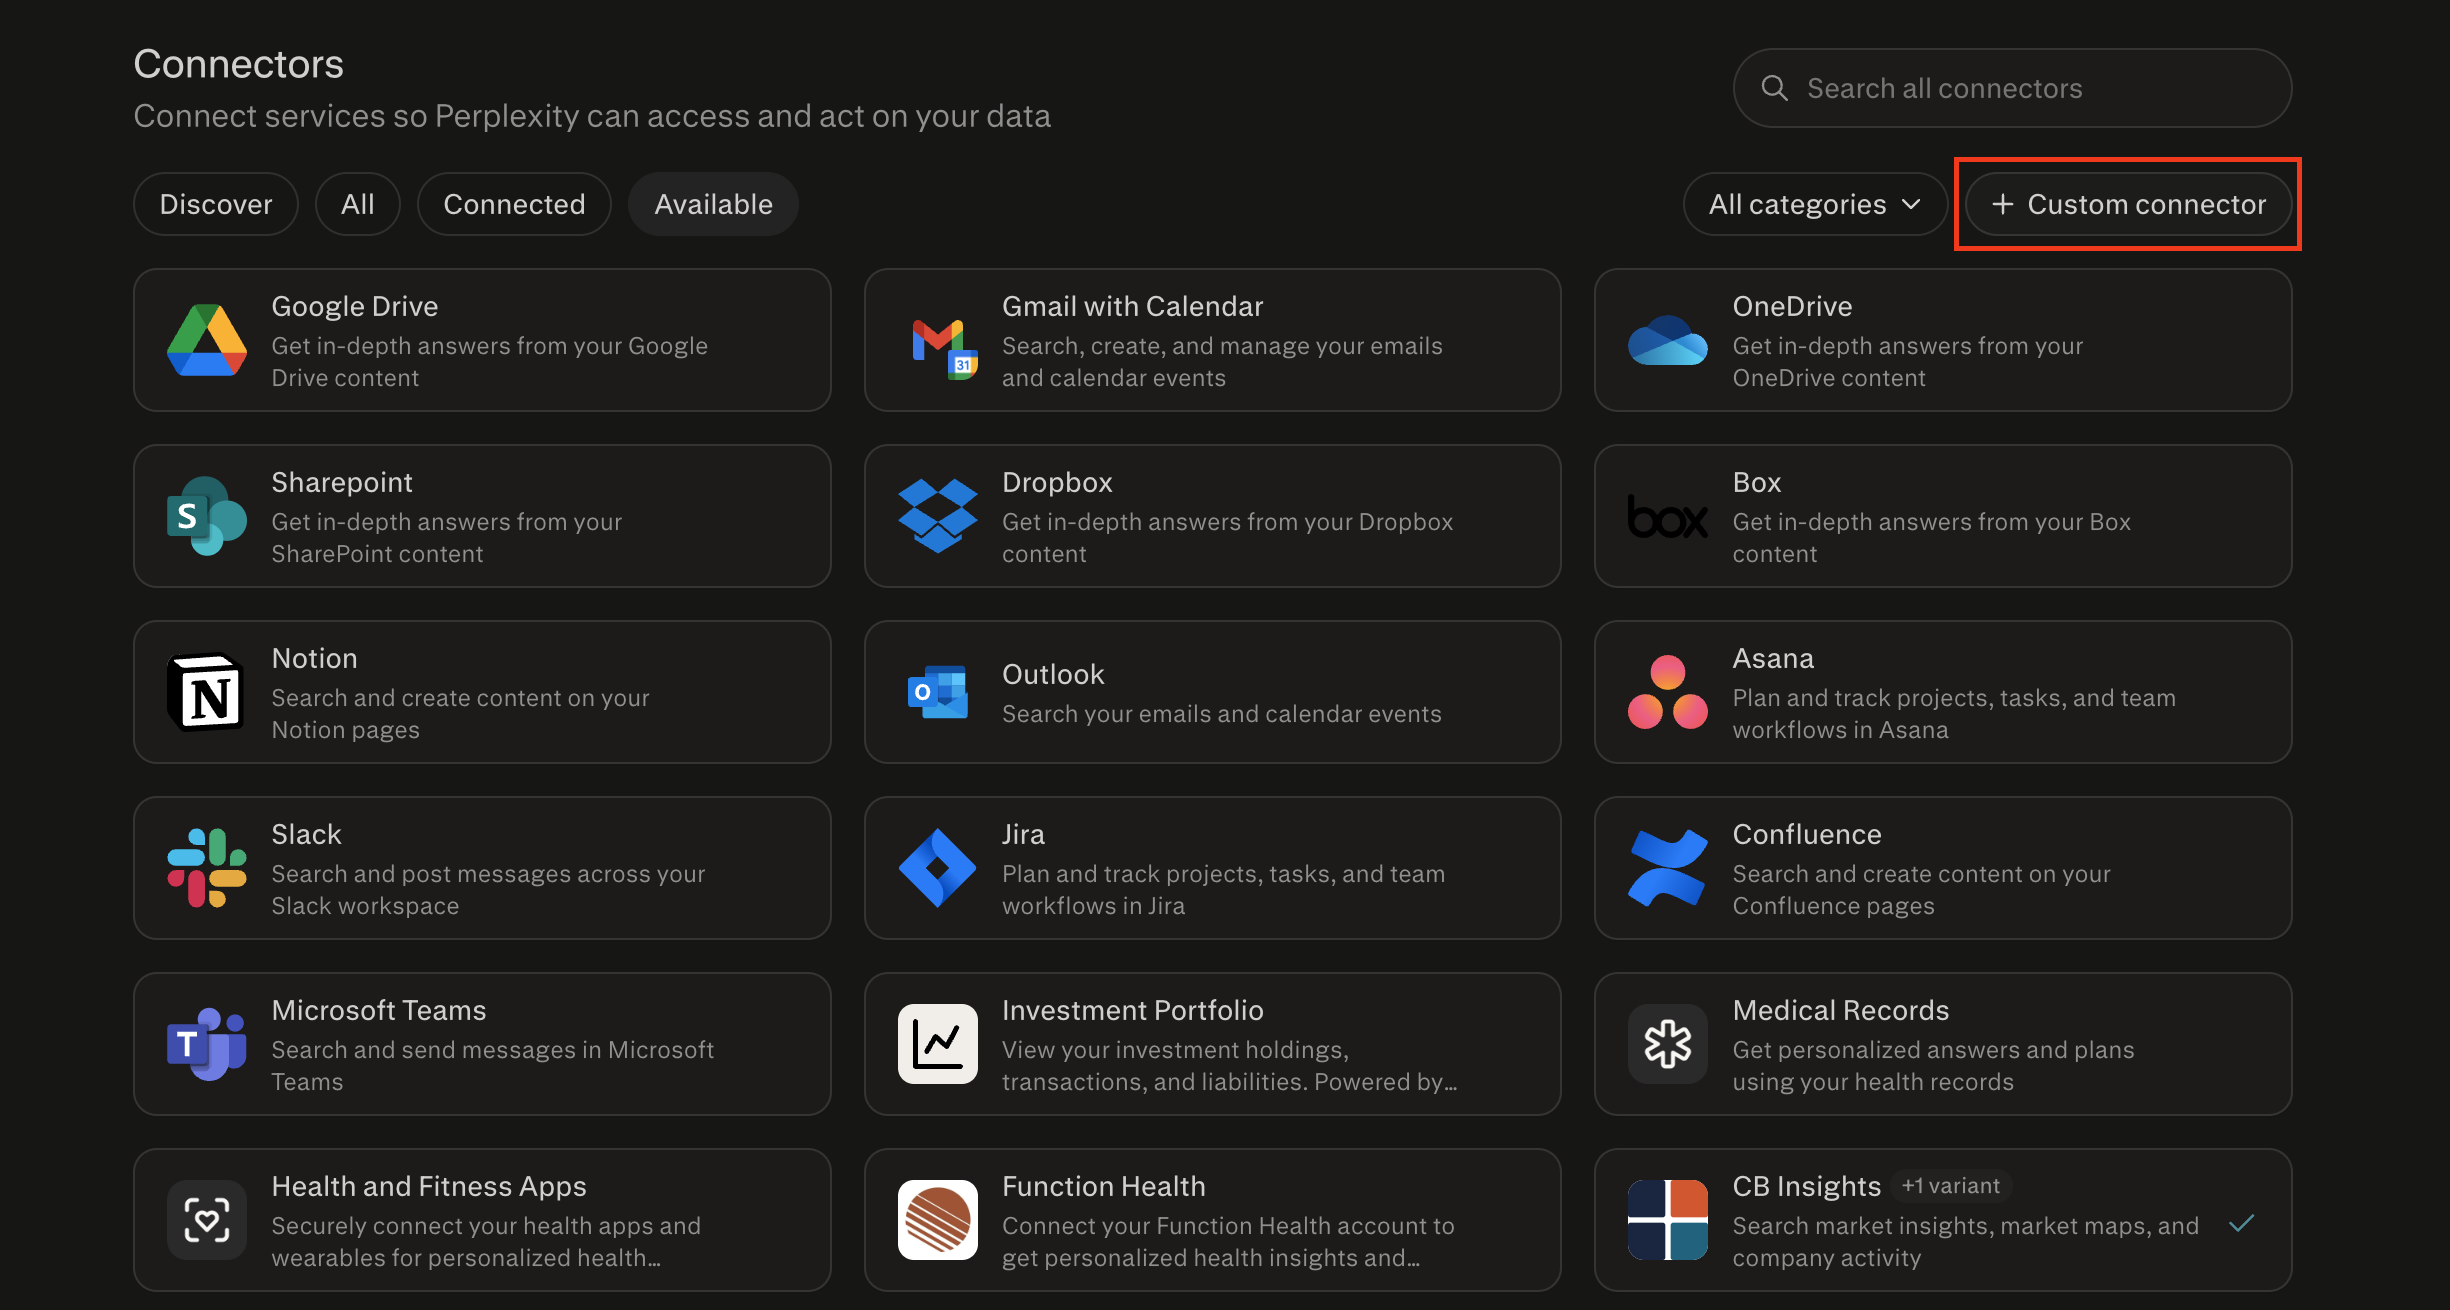
- 3
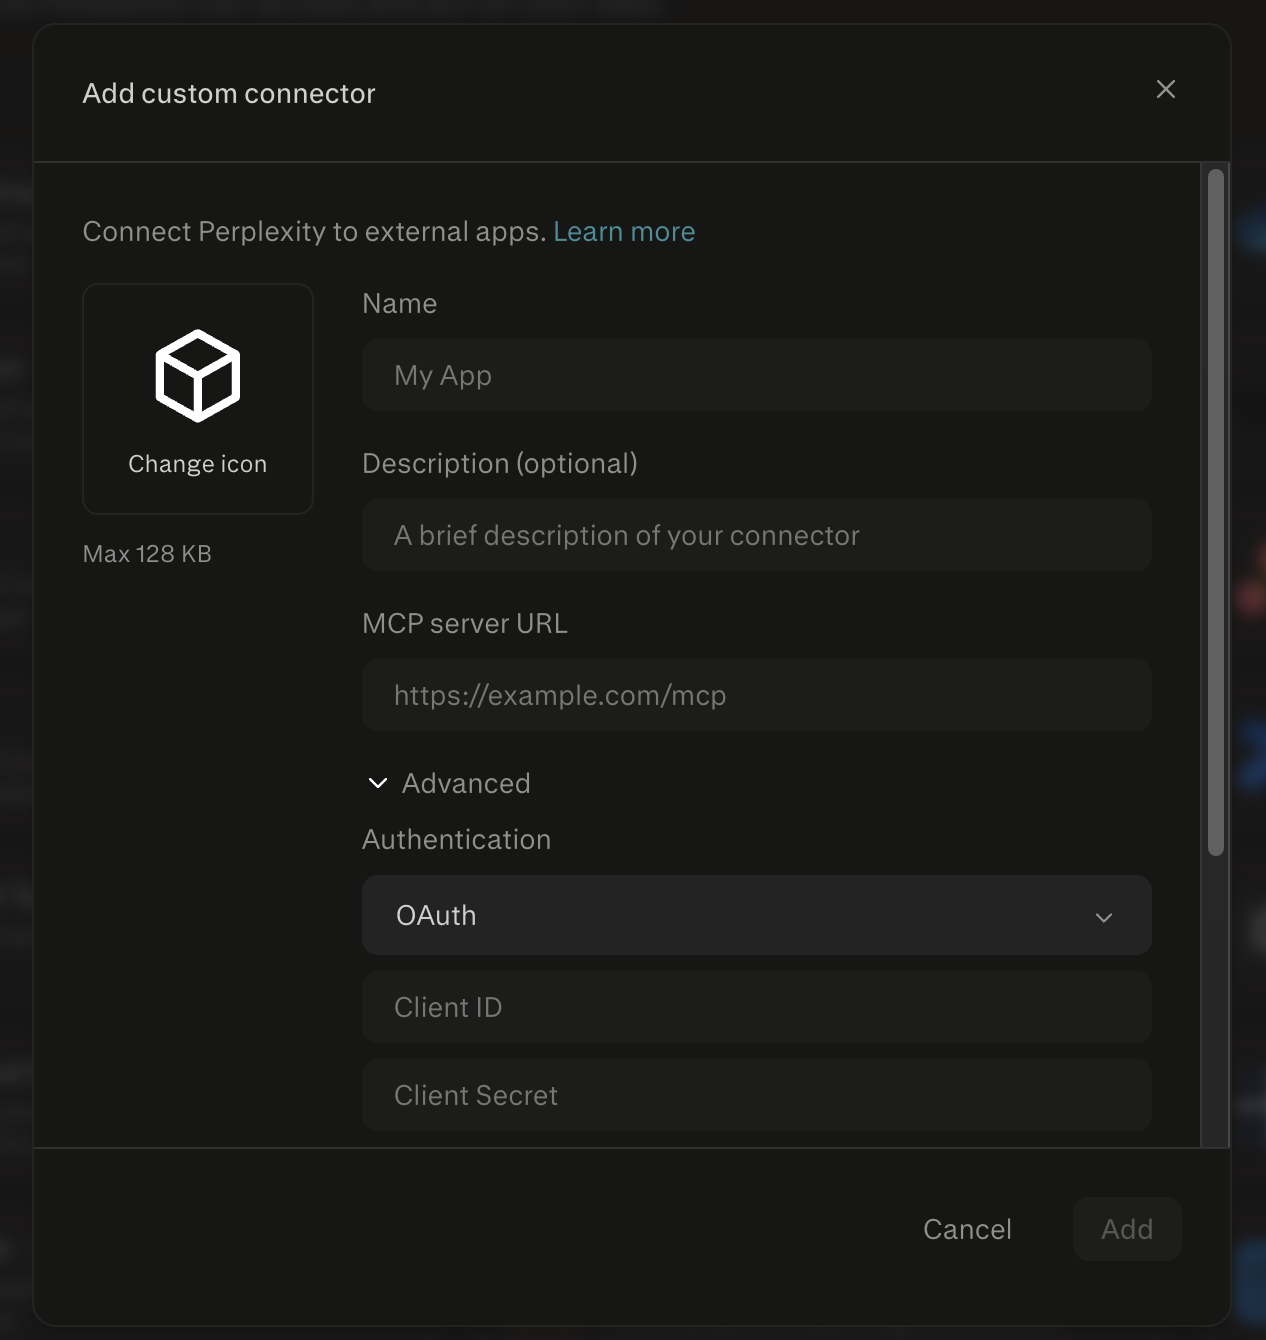
Fill Out the Connector Form
In the Add custom connector form, fill out the fields as follows:Namegtcx.exchangeMCP server URLhttps://mcp.gtcx.exchange/mcpAuthenticationUnder Advanced, select API Key and paste your keyTransportStreamable HTTPAccept the terms and click Add.
- 4
Enable the Connector
In the Available connectors section, you should now see the gtcx.exchange connector listed. Click on it, then click Add connector.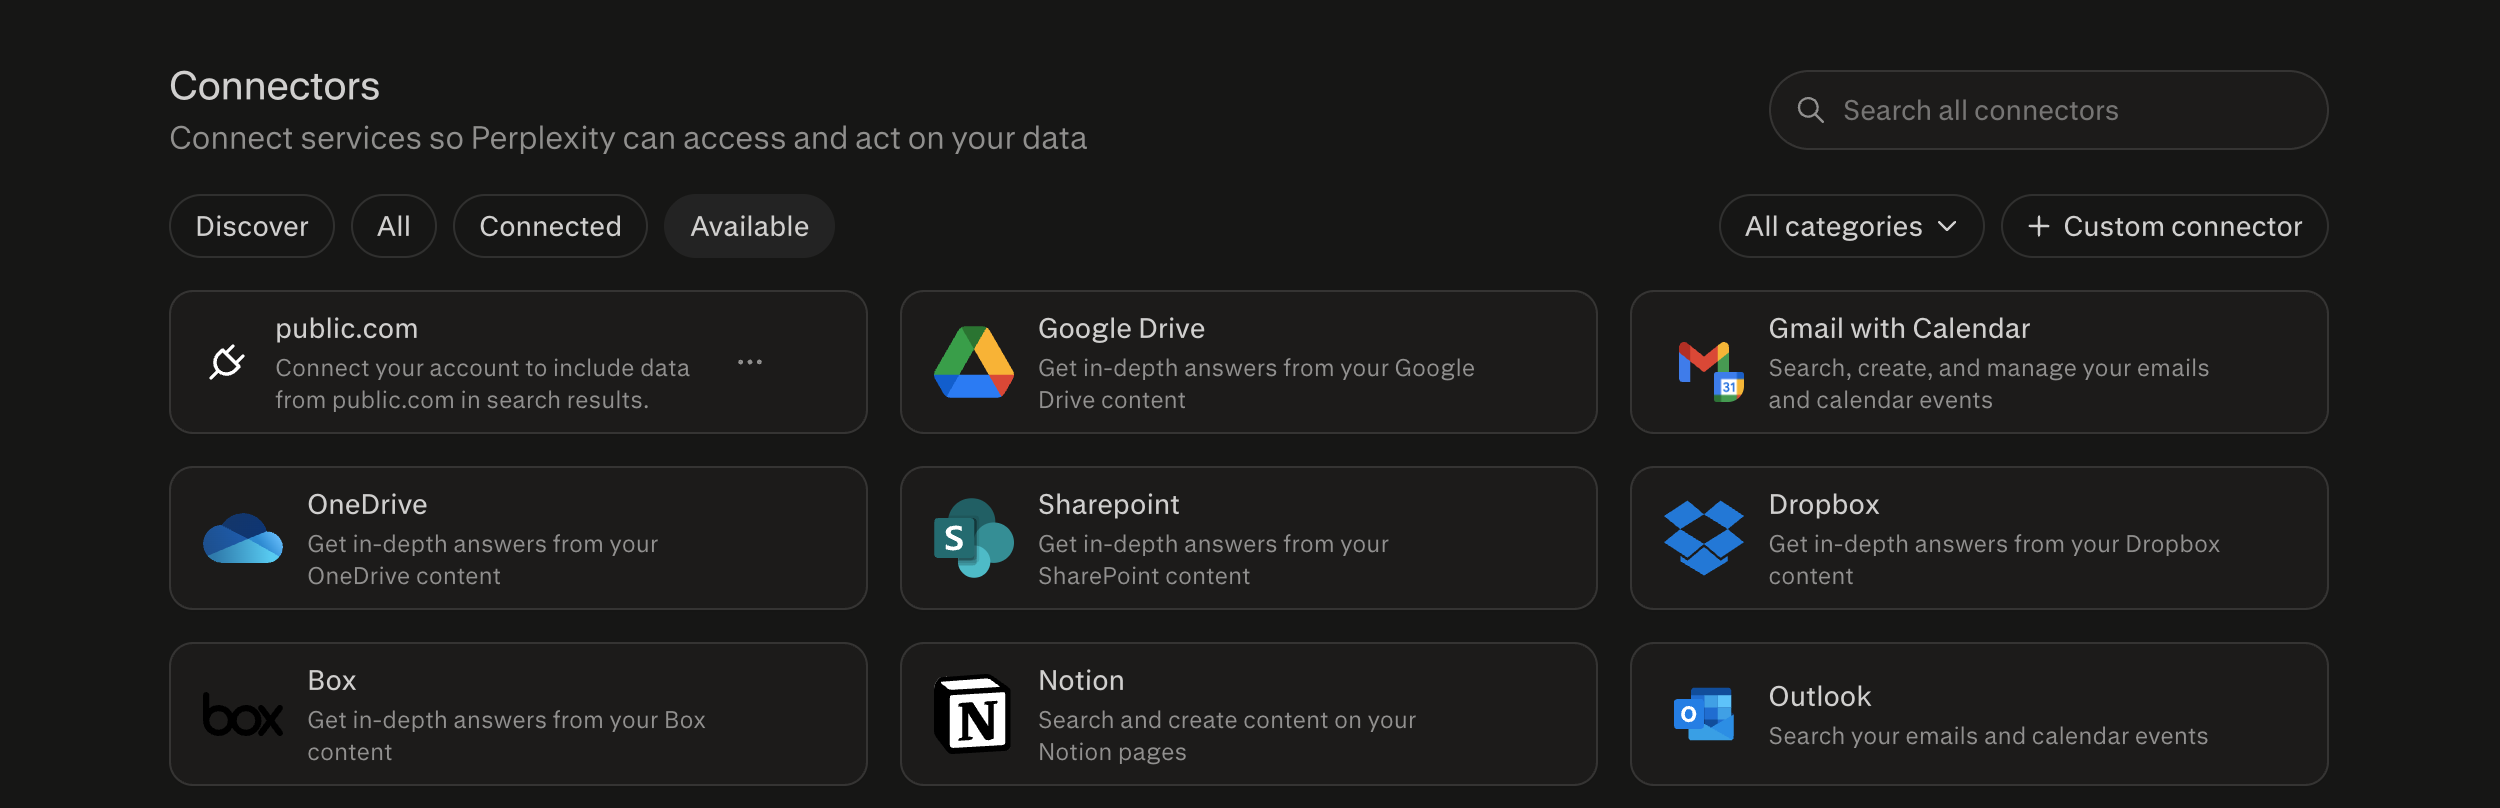
Prompts to try
Once connected, start a new chat in any of these assistants and try prompts like:
- Show me my current account balance and trading power.
- How is my book performing today?
- What is the current price of TSLA?
- Show me the options chain for AAPL expiring next Friday.
- Show me my recent transactions.
- What are my open orders?
- Cancel my open AAPL order.
- Find a good covered call opportunity on SPY based on my holdings.
- Place a buy order for 1 share of NVDA at market.
Important
Placing a trade through any MCP client is a real order using real money in your GTCX TradeDesk account. Review all preflight details carefully before confirming.